First Onsite Volunteer Checklist: Classroom Setup
Overview Opening Keyholder Second Shift Third Shift Fourth Shift Closing Keyholder
Video Guide Detailed Guide Preliminary Setup Signs Student Responsibilities
9:00 AM–9:15 AM
Page 1: Preliminary Setup Page 3: Supervision & Transitions
Checklist
Supervise Setup
All students should plan to arrive by 9:00 AM (15 minutes prior to the start of class) to help with setup.
Detailed Guide
Remind students that setup is their responsibility and encourage them to pitch in.
All students who will be on site for first period should arrive by 9 AM to set up their classrooms and our co-op’s shared spaces.
Onsite Volunteers supervise setup.
Students are responsible for the setup of all classrooms and all shared spaces.
-
Onsite Volunteers are present in a supervisory capacity only.
-
Students are the experts in PHS setup as they are at PHS every week and are also those who are most aware of their classrooms’ needs, while most Onsite Volunteers are at PHS just a few times a semester.
-
Please allow our students the space to be the experts that they are — but also encourage them as needed.
- Students should set up the following spaces for the day:
- All classrooms
- not just their own classroom
- including those with no first-period classes
- Fellowship Hall
- Shared spaces
- South Entryway — should be completed before most students arrive at 9 AM
- Hallways
- Onsite Volunteer Station
- Lounge
- Restrooms
- Fellowship Hall Lobby
- Quiet Study Spaces
- All classrooms
-
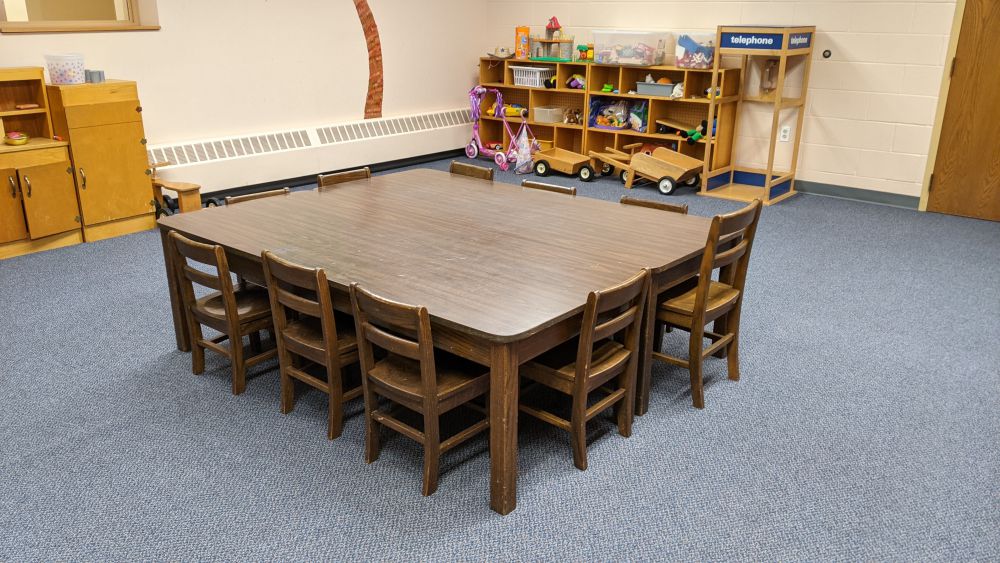
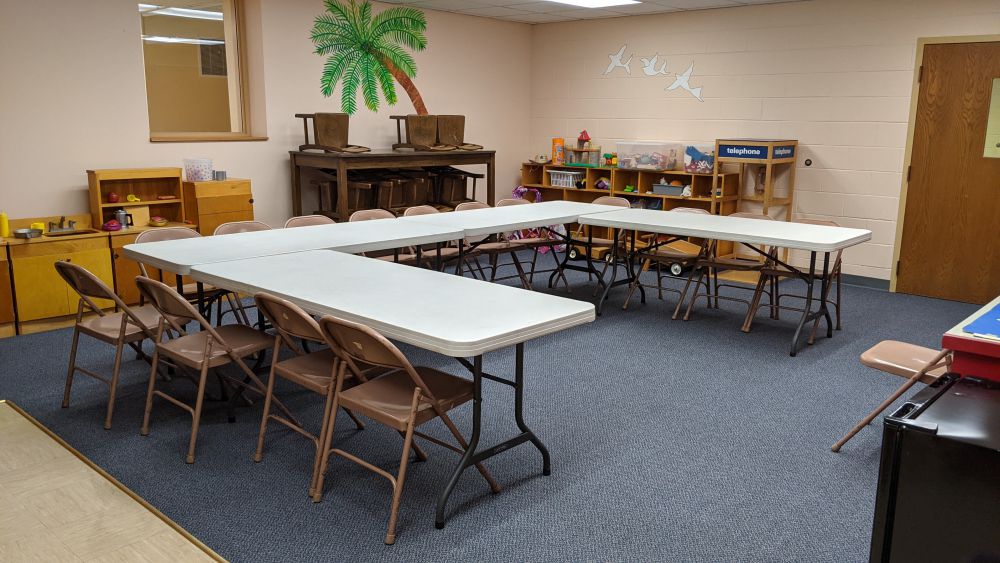
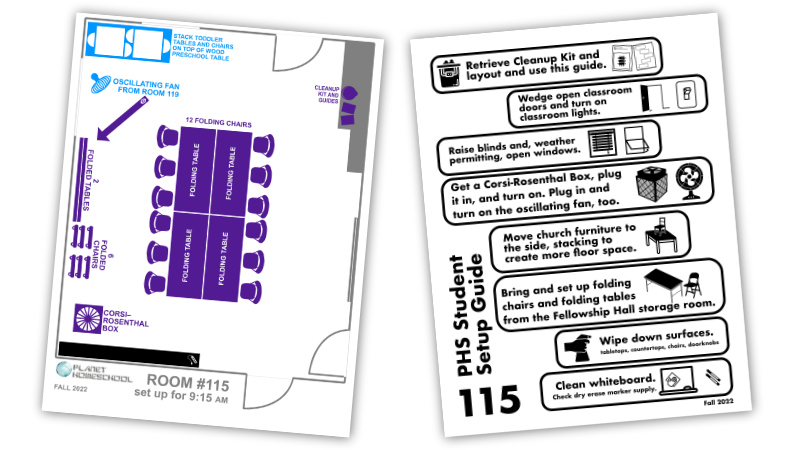
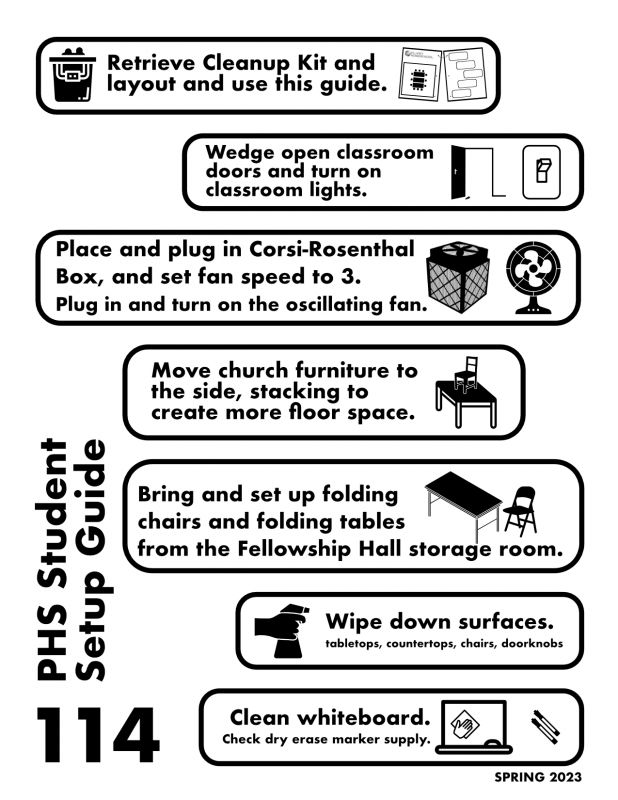
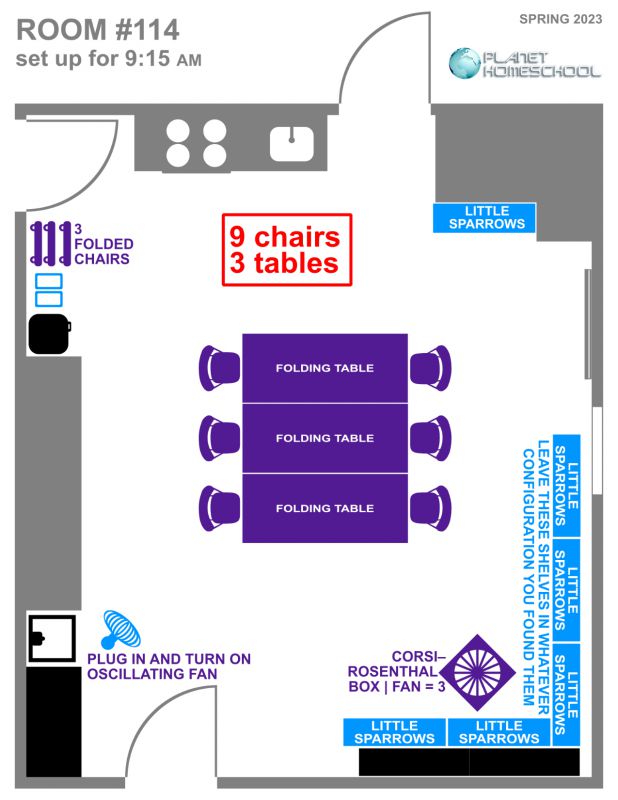
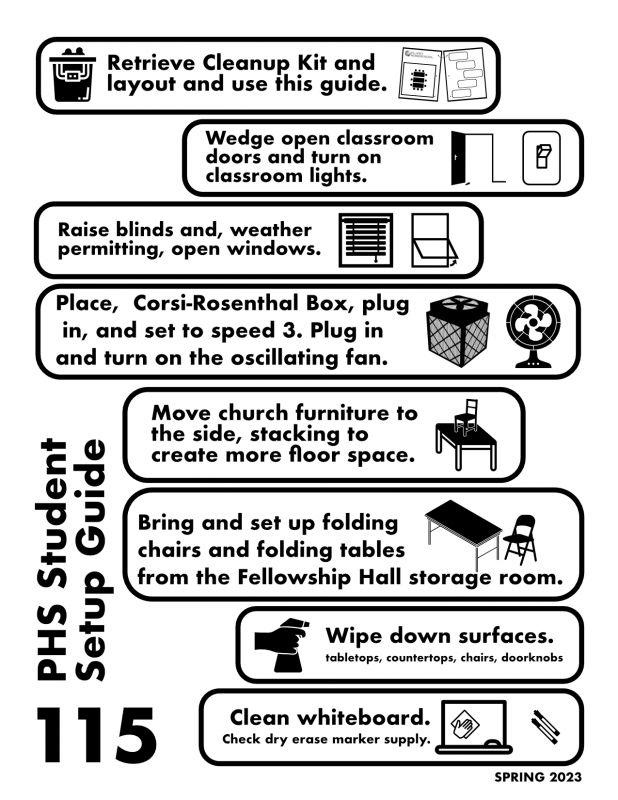
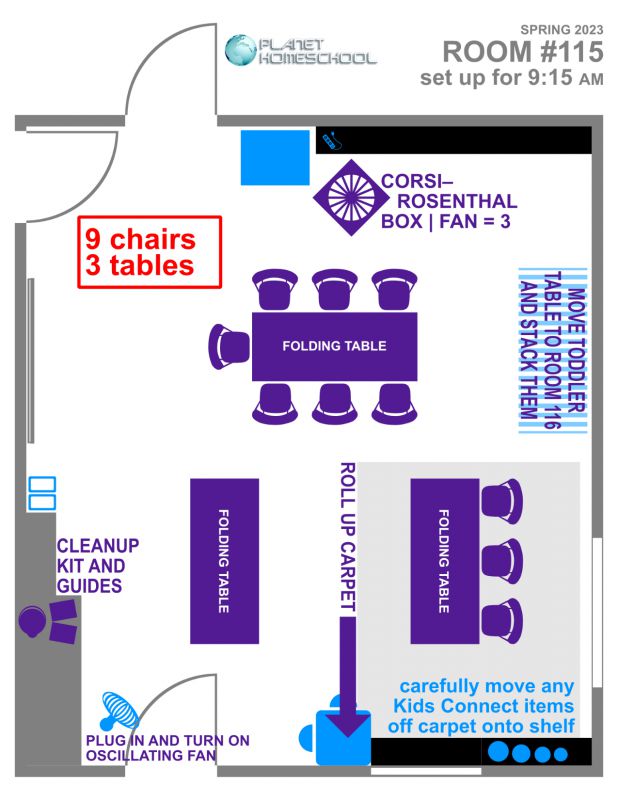
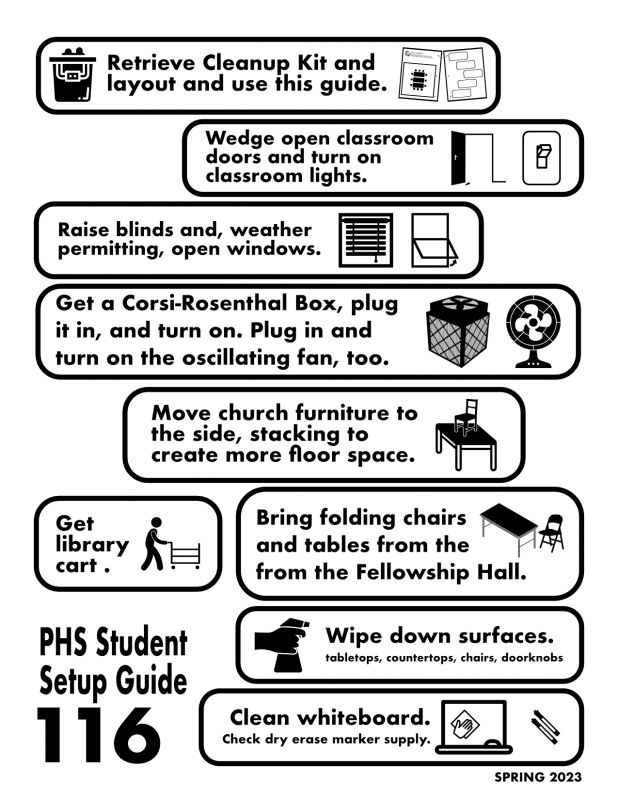
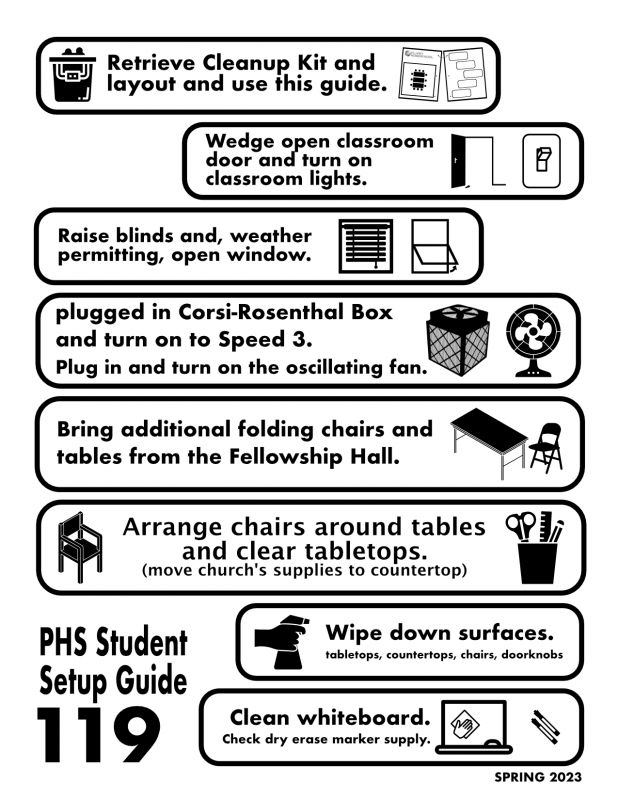
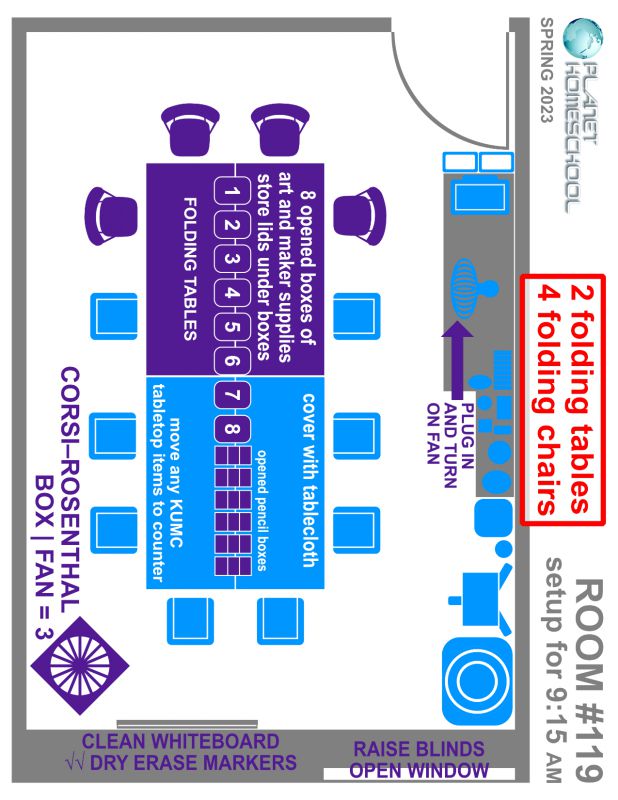
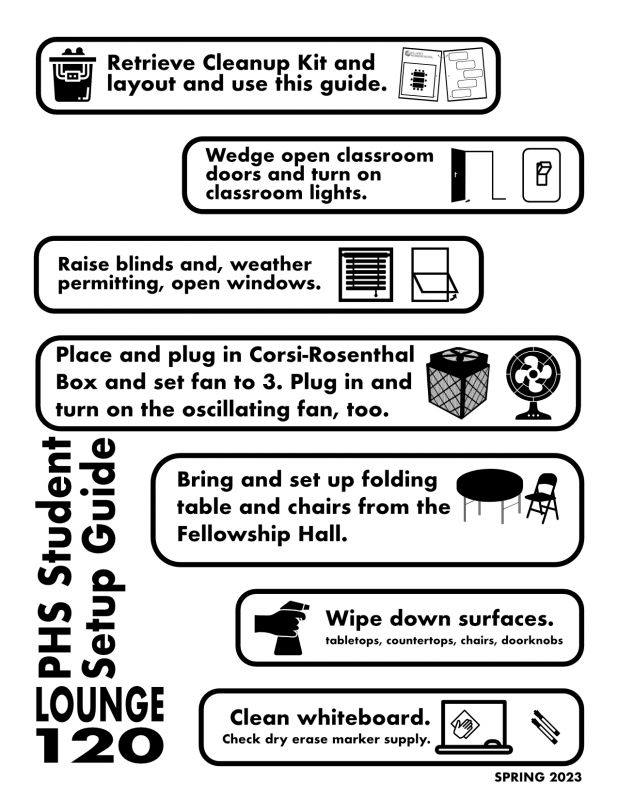
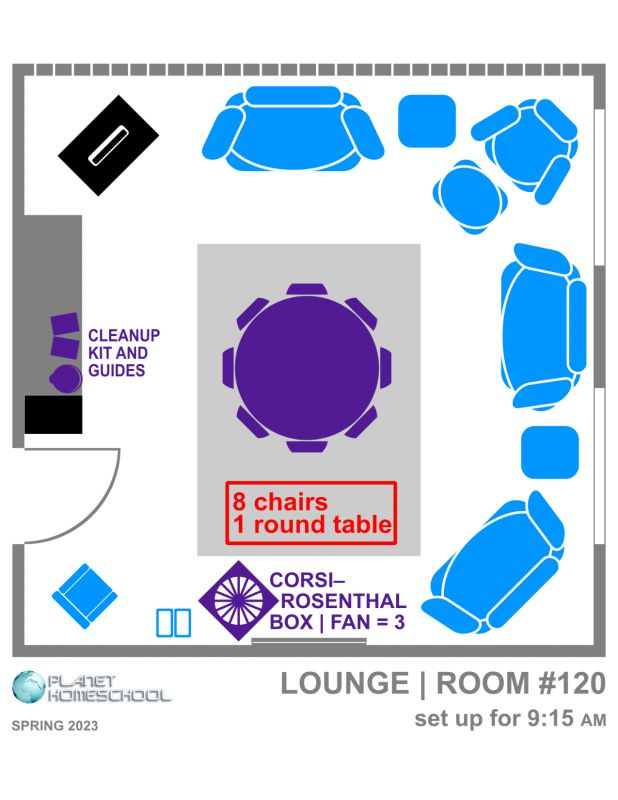
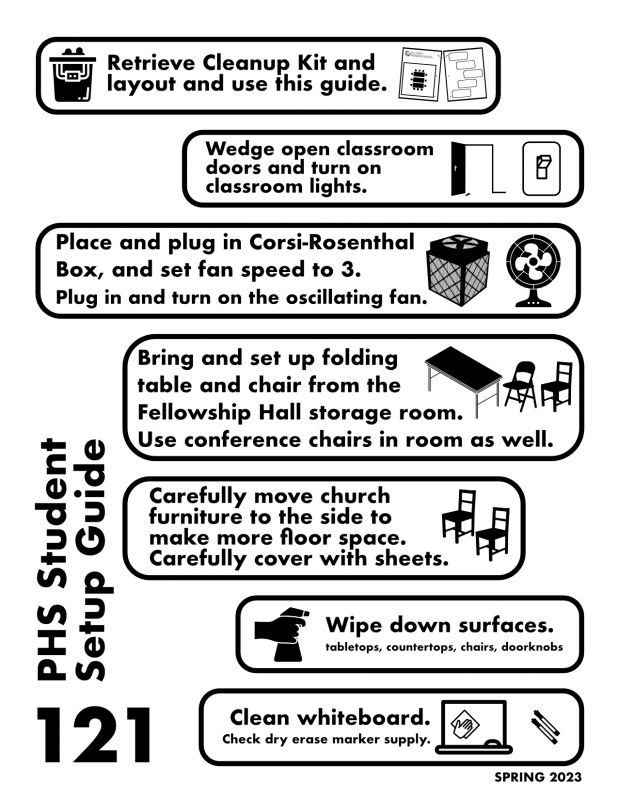
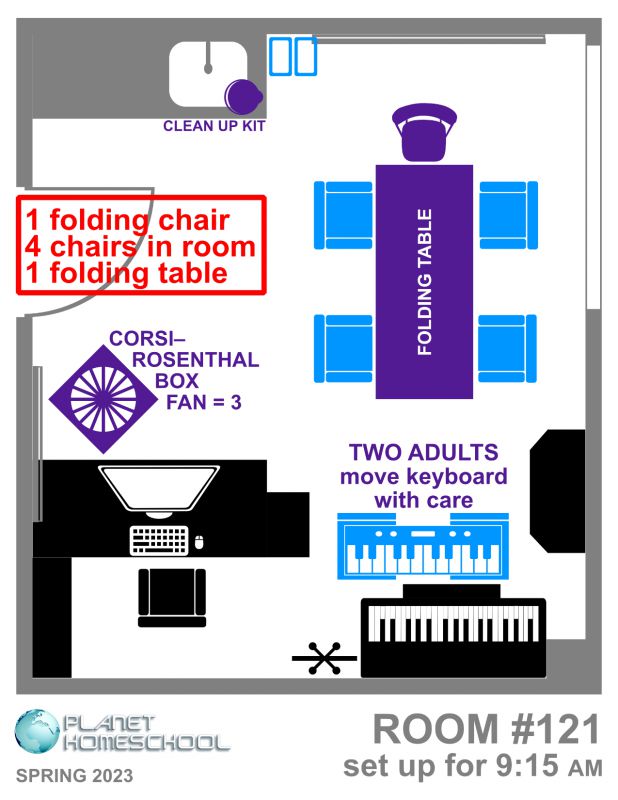
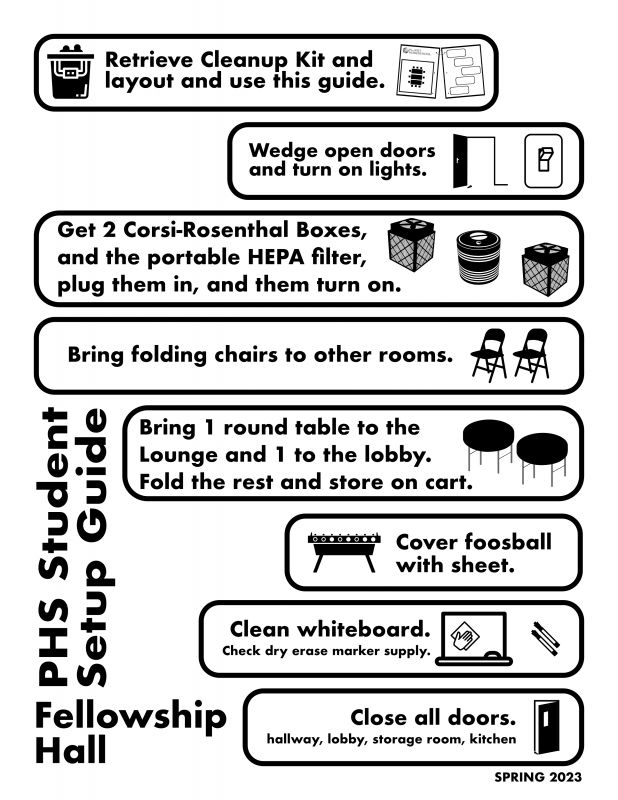
A setup diagram and checklist for each room is provided as part of each room’s Cleanup Kit.
Open Doors and Windows
-
Wedge open doors into the hallway from all classrooms as well as the lounge.
-
Also open the doors between the three interconnected east classrooms (Rooms 114, 115, and 116).
-
Do not wedge open the door to the Resource Room (Room 118).
-
-
Raise the window blinds.
-
Do not raise them if they don’t cooperate. Don’t risk breaking the blinds!
-
-
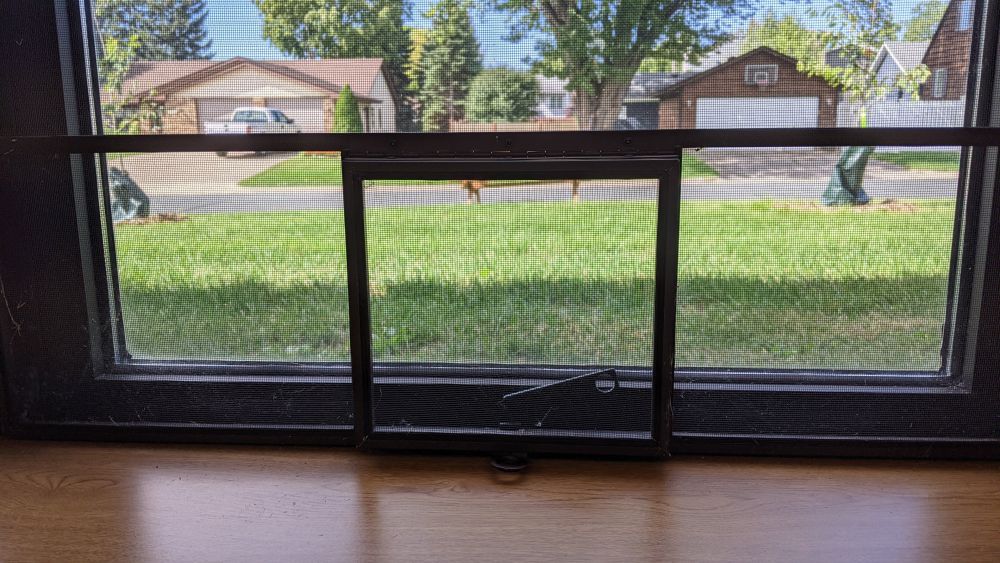
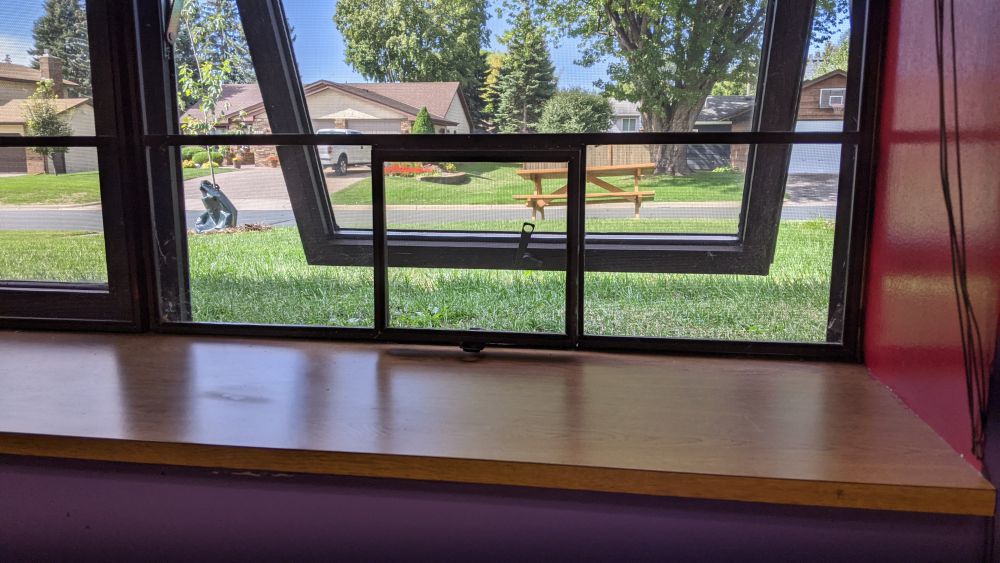
Open windows, weather permitting.
-
We have permission from the church to open windows even when it is cold outside but we must make sure they are closed at the end of the day.
- Do not open the windows in the Fellowship Hall or Kitchen (or Ebenezer Room) when the air conditioning is running.
-
Turn on the classroom lights.
Set up the Onsite Volunteer Station
-
Make sure this is done before classes start at 9:15 AM as extra tables and chairs are kept in the back of the Fellowship Hall and you don’t want to disturb class to obtain these items.
-
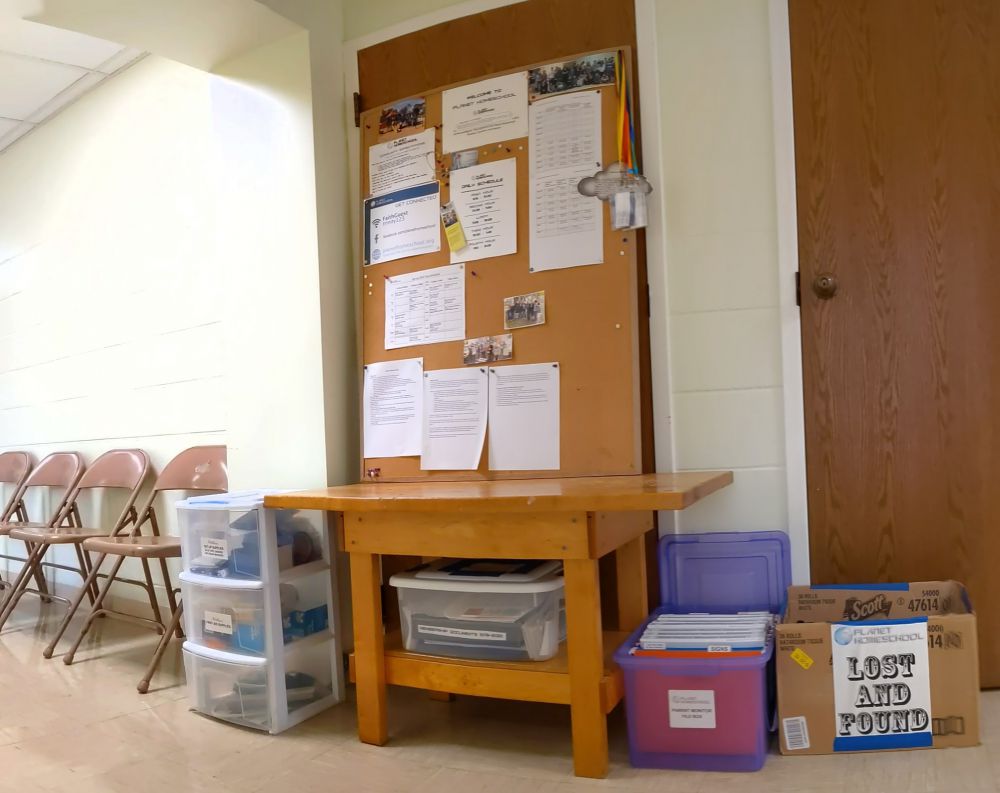
The PHS Onsite Volunteer Station bench — this is a small wooden table.
-
The PHS corkboard — place it on the PHS Onsite Volunteer bench, leaning against the wall.
-
Hang the door keys on the hook on the PHS corkboard.
-
The Onsite Volunteer Station file box — place it on the floor next to the bench.
-
About a dozen folding chairs — place them along the hallway walls near the PHS Onsite Volunteer bench.
-
The Onsite Volunteer Station three-drawer rolling cart — place it next to the bench
-
The Lost & Found box — display lost & found items if there is room to do so, to increase the chances they might be claimed.
-
The smaller box of donated N95/KN95/KF94 respirator masks. (The larger box goes in the south entryway).
Quiet Study Setup
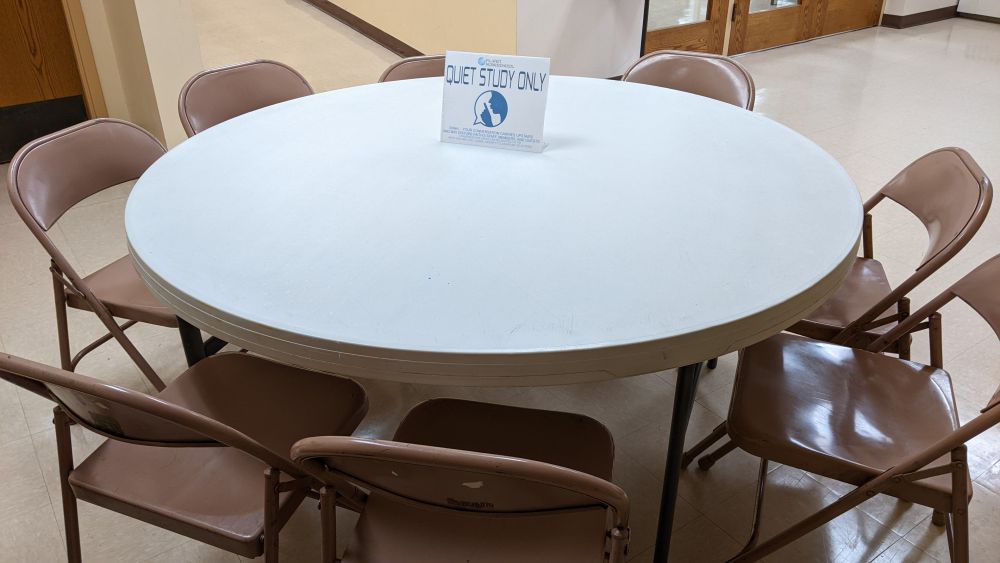
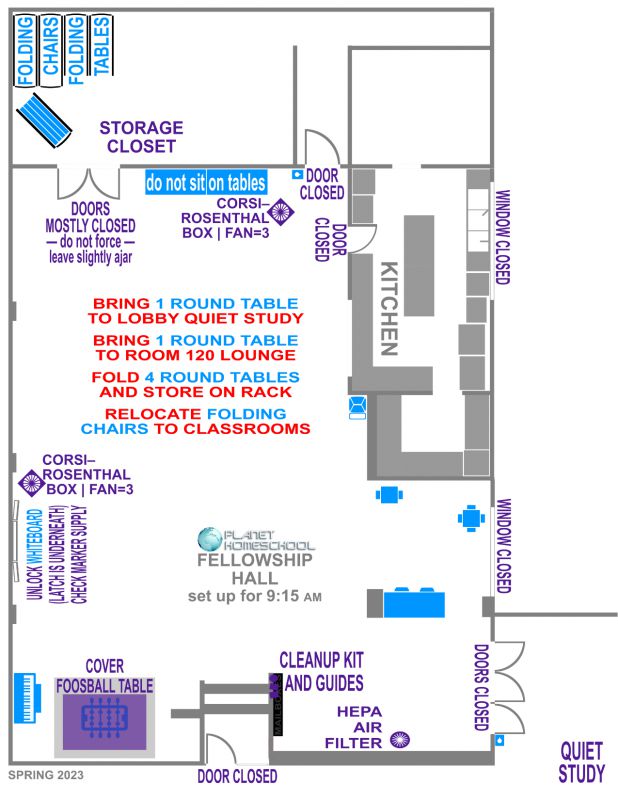
Move one round table and its eight folding chairs from the Fellowship Hall into the Fellowship Hall lobby.
General Classroom Setup
Consult the room checklist and furniture arrangement diagram
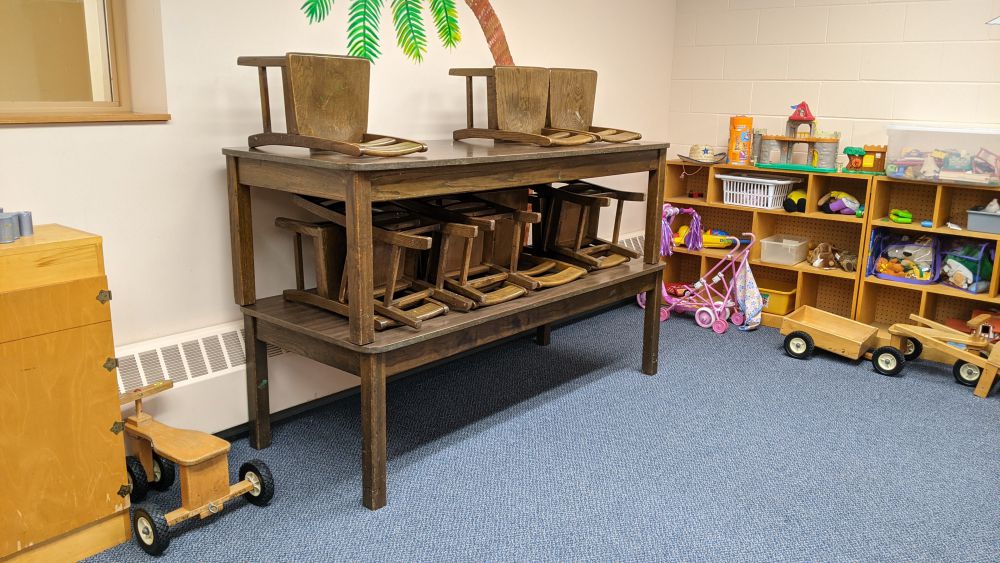
Move the church’s furniture to the side
-
Stack tables and chairs to maximize the available floor space.
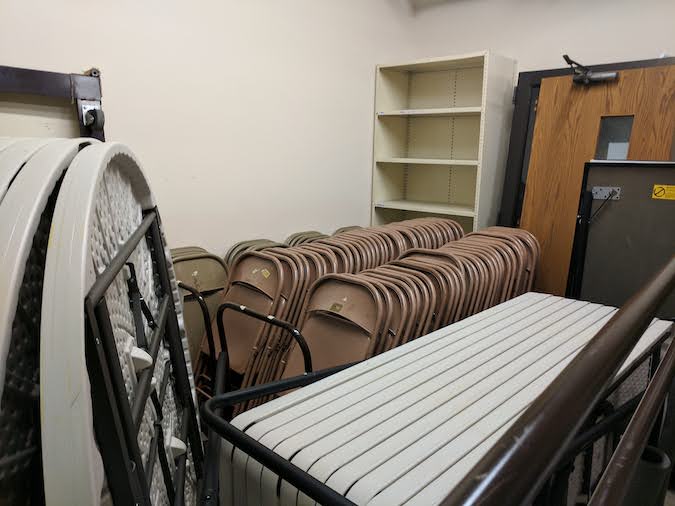
Retrieve sufficient tables and chairs from the Fellowship Hall Storage Room
-
Bring the tables and chairs needed for all class periods from the racks in the storage closet at the back of the Fellowship Hall.
-
Unneeded folding chairs may be taken from around the Fellowship Hall’s round tables — but consult the Fellowship Hall’s setup guide to determine which ones are unneeded.
-
Unneeded round tables may also be moved from the Fellowship Hall into any classroom that needs a round table — but consult the Fellowship Hall’s setup guide to determine which ones are unneeded.
-
-
If the first-period class is smaller (or non-existent) then the additional tables and chairs needed for the later classes in the same room need to be brought to the room.
-
There isn’t enough time between classes to haul additional tables and chairs from the back of the Fellowship Hall through crowded hallways.
-
The additional tables and chairs should be left folded and leaned securely against a wall so as to not interfere with the first-period class.
-
-
If there is no first-period class, then tables and chairs should be set up for the first class in that classroom.
-
-
Set up the tables and chairs in accordance with the furniture arrangement diagram.
-
If the instructors ask for the furniture to be set up differently than shown in the furniture arrangement diagram, report that via the online Onsite Volunteer Shift Log or email the PHS Leadership Team at PlanetHomeschoolMN@gmail.com so that the diagram may be updated.
-
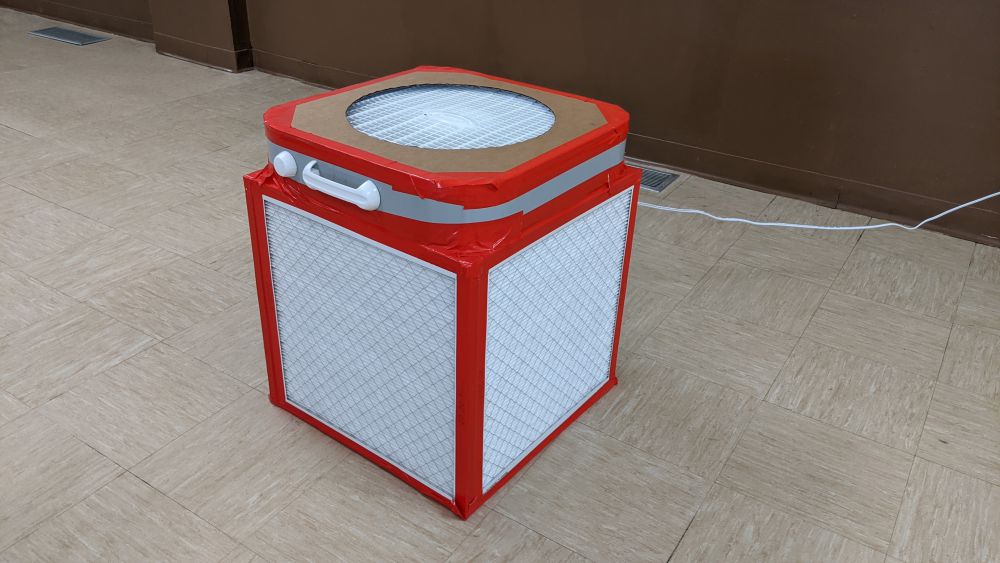
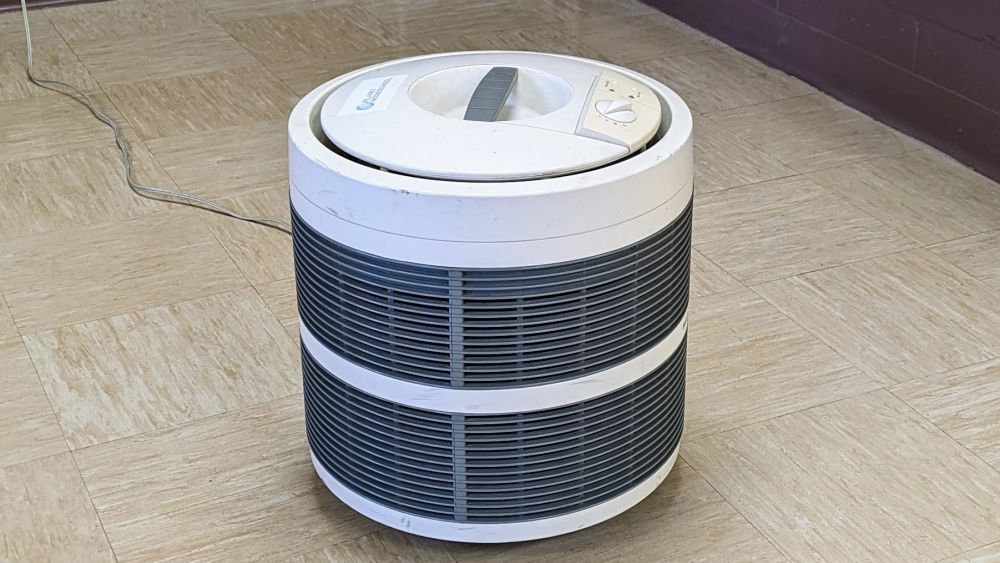
Students bring a Corsi-Rosenthal box to each classroom.
Plug them in and turn them on to speed 3.
The Fellowship Hall gets a Corsi-Rosenthal box plus the portable HEPA filter.
While every Corsi-Rosenthal box is identical it is most efficient to bring the box to the room that matches its label as this eliminates the need to hunt for the rooms that still need boxes.
To ensure maximum airflow, Onsite Volunteers should confirm that the boxes are set at an angle (with no side flat against a wall) and turned on to Speed 3.
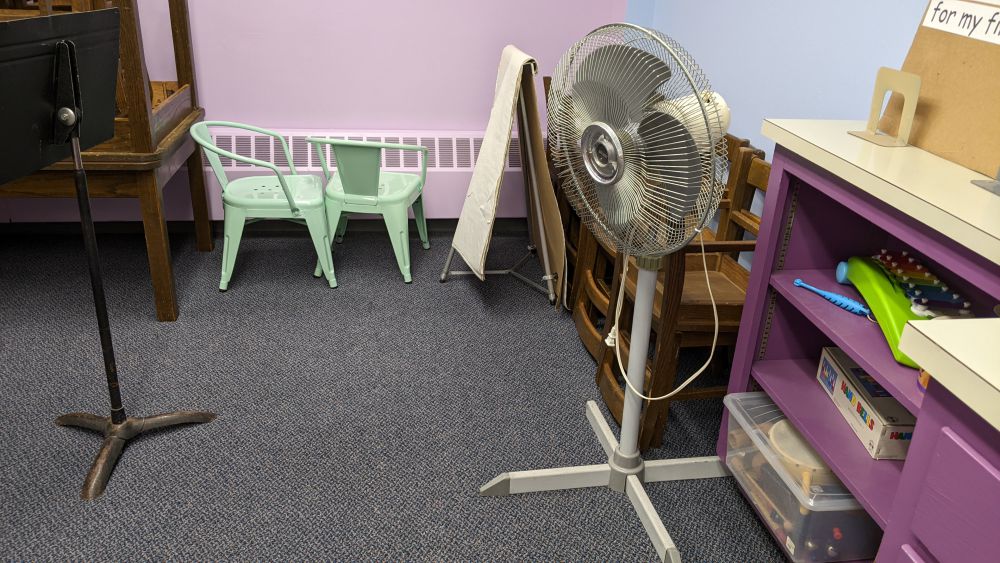
Students plug in and turn on the church’s oscillating fans.
You may relocate the church’s oscillating fans to rooms where they are needed but make a note of the move and ensure the information is passed on to the Fourth Onsite Volunteers and the Cleanup Crew so that they can be returned home at the end of the day (a Post-It note on the fan should be sufficient, although you may wish to secure it against moving air with a bit of blue tape).
Students clean the whiteboards.
-
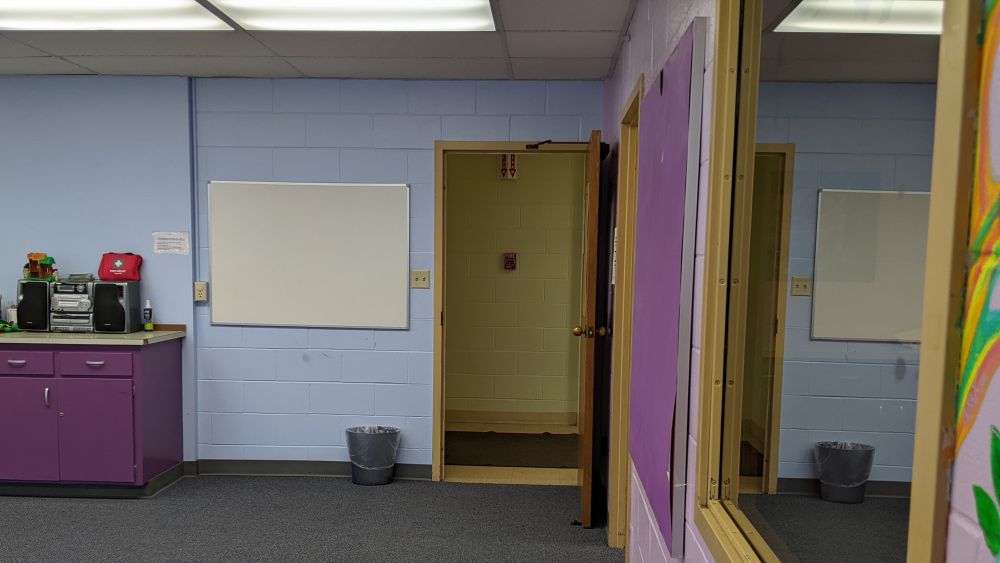
Use the whiteboard cleaner and paper towels in the Cleanup Kit to clean the whiteboard so that it is ready for the day’s classes.
-
Clean the whiteboard even if the instructor for the first-period class doesn’t make use of the whiteboard.
-
Restock dry-erase markers, as needed
Replacement dry-erase markers are kept in the three-drawer rolling cart at the Onsite Volunteer Station.
Students wipe down surfaces
-
Use the all-purpose cleaner and paper towels in the Cleanup Kit to wipe down tabletops, countertops, chairs, doorknobs, and other surfaces.
-
While this is a health-and-safety measure it also protects students’ belongings from any sticky messes left behind by the last group to use those surfaces.
-
Check the classroom’s guide for any additional tasks.
-
Each classroom is a bit different, so consult the classroom’s guide to ensure everything is set up for the day.
-
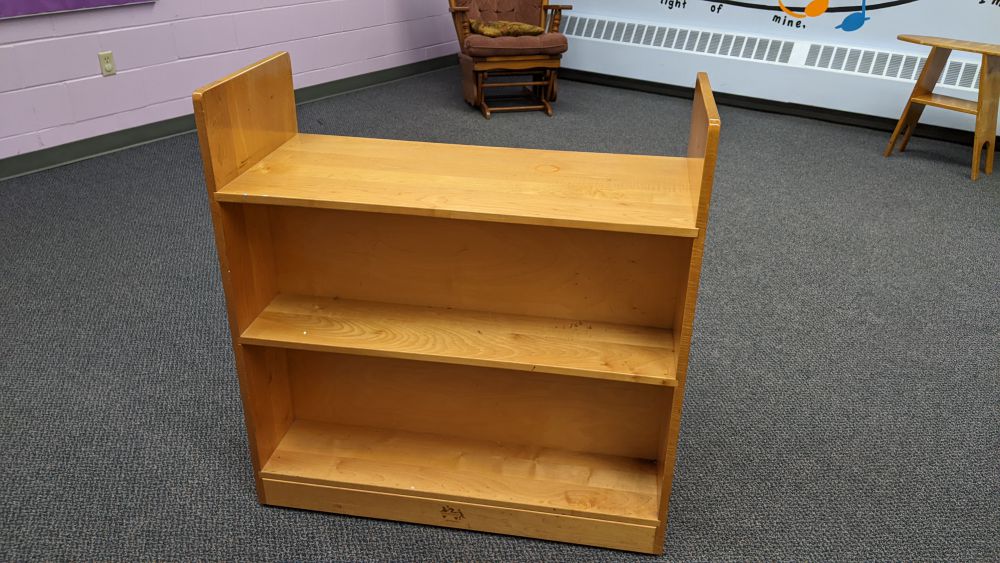
The Library cart is in Room 116.
-
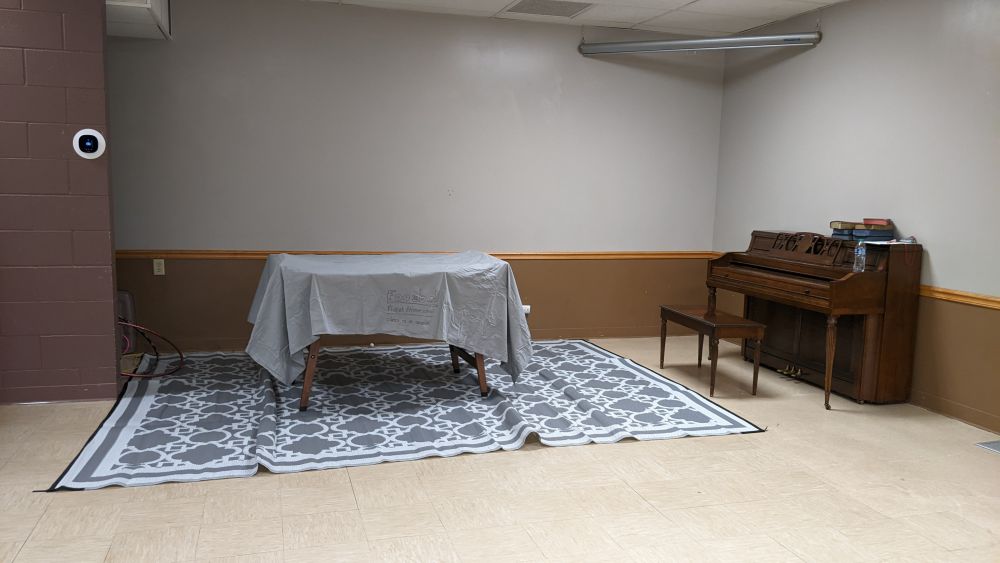
The Fellowship Hall foosball table is covered with the sheet from the PHS closet.
-
The 8 boxes of art and craft supplies are in the Sibling Squad's classroom.
All students assist with the setup of shared spaces and other classrooms.
-
When students have completed the setup of their own classrooms, they should assist with setting up shared spaces and other classrooms.
-
Some classes can be quite small, even one-on-one. Make sure that those classrooms have sufficient student helpers to get the space set up before class begins.
Onsite Volunteers double-check each room to be sure students have completed its setup
-
Consult the room’s setup guide to see what should be done.
-
Rooms without first-period classes must be set up for their first class of the day as tables and chairs are kept in the back of the Fellowship Hall and we don’t want to disturb a class to obtain these items.
-
After confirming that the setup is complete, return the room’s guide to its Cleanup Kit. (Leave the kit in the classroom.)
Page 1: Preliminary Setup Page 3: Supervision & Transitions
Room Setup Guides
Printed versions of these guides are kept in each room’s Cleanup Kit.
Page 1: Preliminary Setup Page 3: Supervision & Transitions


